A ceramic tiles manufacturer datasheet can describe dimensions, water absorption, breaking strength and surface finish, but it cannot show how a relief wall will read under the project’s actual lighting. For a 3d ceramic tiles manufacturer order, the full-scale mockup is where procurement information becomes an installation decision. It reveals whether modules align, corners can be resolved, joints remain controlled and the wall can be cleaned after handover.
This guide explains how project contractors can define and approve a useful mockup before releasing a bulk order. The goal is not to replace laboratory evidence or the project specification. It is to connect product data, design intent, factory controls and site workmanship in one documented review.
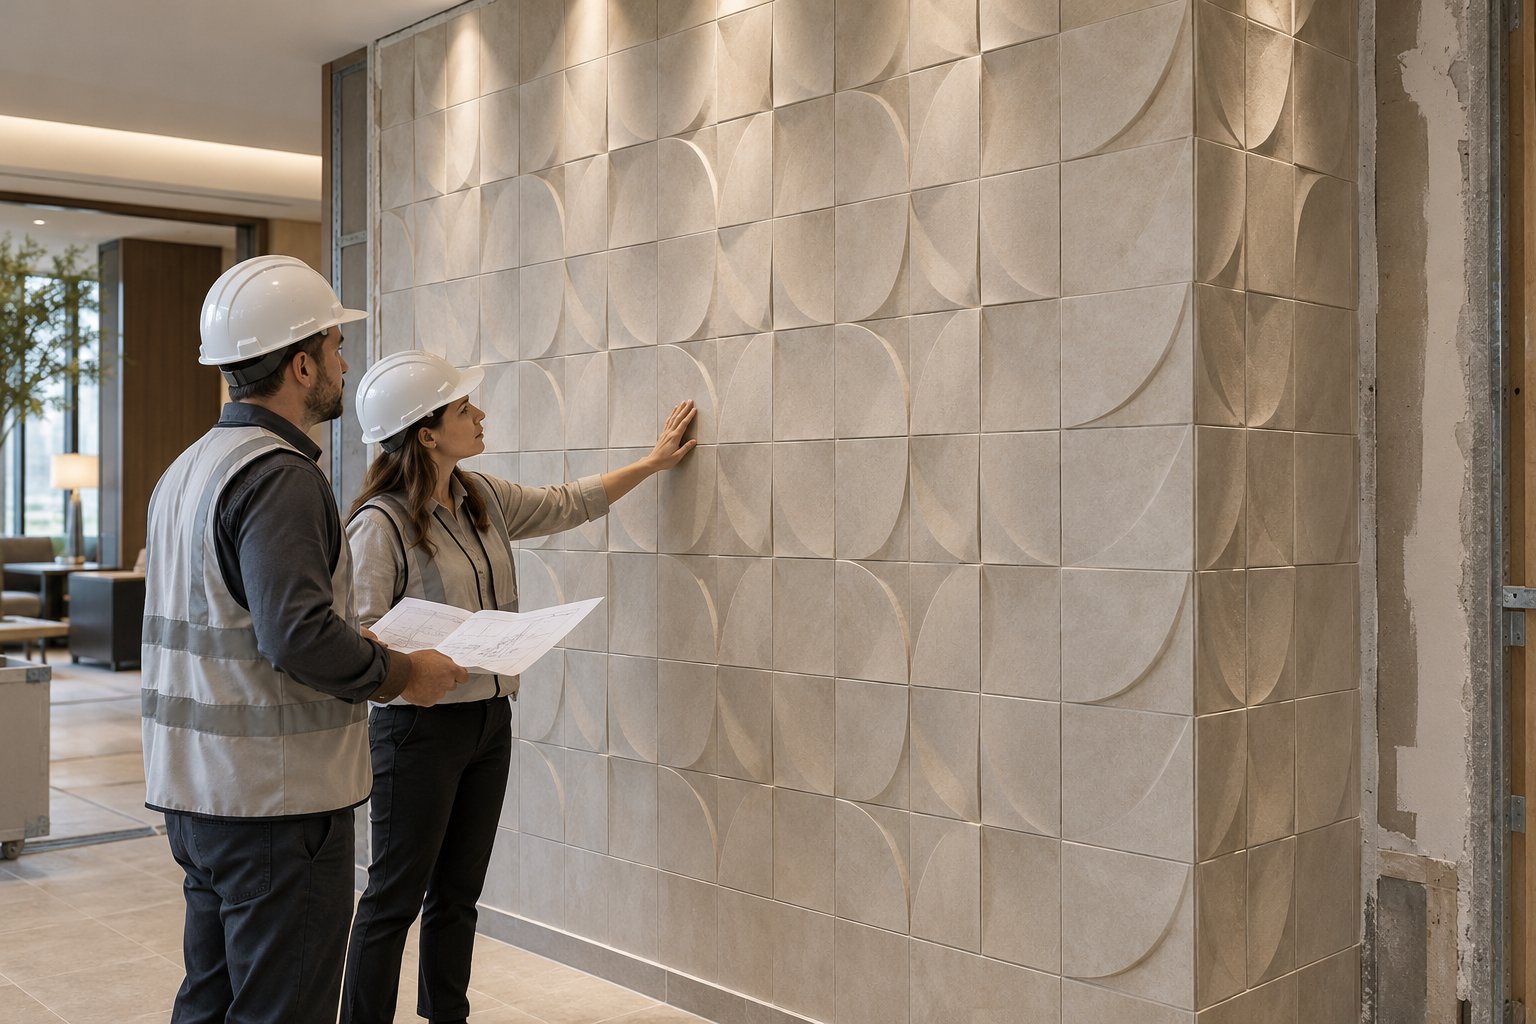
Original AI-generated project concept illustration, not a completed MagiTiles project photograph.
Start with the Decision the Mockup Must Support
Do not request a sample wall without defining what the project team must decide from it. A small loose sample may confirm color direction and surface character, while a full-scale assembly should answer questions about repetition, joint rhythm, lighting, corners, interfaces and maintainability.
Prepare a short acceptance schedule before the mockup is built. It can list the viewing distance, lighting condition, approved substrate, fixing method, joint width, grout color, orientation, corner treatment and adjoining materials. Identify who reviews each item and whether the outcome is approval, approval with comments or rejection and rebuild.
The mockup area should be large enough to show several module repeats in both directions. If the relief has a directional pattern, include the intended orientation and at least one transition. A visually attractive single tile does not prove that a repeated installation will remain coherent across a lobby, lift core or retail feature wall.
Compare the Mockup with Controlled Reference Material
The project needs a traceable reference, not a memory of a showroom visit. Record the sample code, finish, color range and revision used for the mockup. Photograph the reverse marking and packaging label where available, and retain signed reference pieces after approval.
Ask the supplier how the mockup material relates to planned production. Was it made from a normal production batch, a development trial or stock from an earlier run? The answer affects how the team should interpret color and relief consistency. The approved mockup should not silently become a promise that natural production variation will disappear.
Use the ceramic tiles manufacturer factory overview to frame questions about forming, firing, sorting and batch identification. Then document the controls required for the actual order. General factory information is useful for supplier qualification, but only the project purchase documents can define the accepted product and inspection evidence.
Review Relief Under the Project Lighting Direction
Three-dimensional surfaces react strongly to raking light. Shadows can exaggerate small height differences, make joint lines more visible and expose uneven substrate preparation. Review the mockup with the specified luminaire type, approximate mounting position and intended color temperature wherever practical.
Check the wall from normal circulation routes rather than only from directly in front. A finish that looks balanced at one meter may show obvious repetition from across an atrium. Record the agreed viewing locations and conditions so later inspections use the same basis.
Avoid using a phone flash as the only lighting test. It may create a harsh condition that the finished project will never experience, while also failing to reproduce continuous grazing light from a ceiling slot. If temporary site lighting must be used, record its location and limitations in the review notes.

Original AI-generated inspection concept illustration, not documentary evidence of a factory or site.
Measure the Installed Assembly, Not Only Loose Tiles
A datasheet normally describes the product, but the finished wall is a system. Substrate flatness, adhesive-bed control, tile geometry and installer setting-out all influence the final plane. The mockup should therefore be measured after installation and curing, not judged only by loose-piece dimensions.
Check representative joint widths, face alignment and the cumulative module over several tiles. Note whether the relief creates apparent misalignment even when the base plane is within the project’s tolerance. Where the design expects tight visual continuity, agree how pieces will be selected and oriented without assuming that zero-joint installation is acceptable.
For a brick ceramic tiles manufacturer comparison, verify bond pattern, corner returns and the visual effect of dimensional variation across multiple courses. For an alumina ceramic tiles manufacturer, first confirm whether the product is an industrial wear-lining tile rather than an architectural decorative finish; its performance criteria, fixing system and visual expectations may be fundamentally different.
Resolve Corners, Openings and Service Interfaces
Feature walls often fail at their boundaries rather than in the center. Include at least one representative external corner, internal corner, termination or opening in the mockup. If the project uses metal trims, sealant joints or cut returns, show the specified profiles and colors.
Confirm the minimum practical cut size and whether the relief can be cut without producing fragile edges. Review how electrical outlets, access panels, signage brackets and fire-system devices interrupt the pattern. A coordinated setting-out drawing should place these items before installation begins.
Ask who supplies special pieces and how they will be packed and identified. If corners depend on field cutting, allow for breakage and define the acceptable edge finish. If factory-made returns are required, treat them as separate order items with their own sample approval, quantities and replacement allowance.
Test Cleaning and Handover Practicality
Deep relief can collect dust, grout residue and construction debris. The mockup should be cleaned with the proposed method after grout or joint material has cured. Check whether cloths snag on sharp texture, whether cleaning fluid remains in recesses and whether the surface changes after repeated wiping.
Do not approve a cleaning chemical from appearance alone. Confirm compatibility with the product, grout, trim and adjacent finish. Keep a record of the product name, dilution, contact time and tools used successfully on the mockup, then transfer that information into the handover plan.
For public interiors, also review projections and sharp edges where people can touch the wall. The designer should decide whether the selected relief is appropriate for circulation areas, seating zones and accessible routes. A supplier datasheet cannot make that project-specific judgment.
Connect Standards to the Actual Specification
The project specification should identify the classification and test evidence relevant to the selected tile. The International Organization for Standardization can be used to locate standards such as ISO 13006 and the ISO 10545 test series where applicable. Ask for current evidence tied to the actual product and requirement rather than accepting a logo or a general claim as proof.
The mockup does not replace those records. A visually accepted wall may still fail to meet the specified technical requirement, and a compliant test report does not guarantee acceptable pattern alignment under project lighting. Treat the two reviews as complementary gates.
Create an evidence matrix that lists the required property, the referenced method, the document provided, the product identity and the responsible reviewer. If the order includes several finishes or body types, keep their evidence separate rather than assuming one report covers the complete range.
Translate Approval into Factory and Site Controls
After approval, issue a marked-up mockup record with photographs, dimensions and reviewer signatures. Identify the approved face orientation, joint width, grout, corner detail and acceptable visual range. State which observations are inherent characteristics and which are defects requiring correction.
Share the approved criteria with production inspection, packing and the installation team. Request batch identification and retain representative production pieces for comparison. For larger projects, decide whether the mockup remains protected on site as a reference or whether a portable approval panel is needed.
Review ceramic tile project cases to identify comparable application questions, then request project-specific evidence for the proposed system. Photographs can help explain context, but they do not establish that another project’s substrate, lighting, joint design or acceptance criteria match yours.
Compare Suppliers with the Same Mockup Brief
Supplier searches such as ceramic tiles manufacturer in bikaner and ceramic tiles manufacturer in morbi may produce many candidates. A useful comparison gives shortlisted suppliers the same mockup area, module layout, joint requirement, corner detail and evidence checklist. Otherwise, each quotation may represent a different installed outcome.
Compare more than sample price and delivery time. Record the number of modules supplied, special-piece readiness, batch traceability, replacement lead time, packing method and technical response to installation questions. A lower-cost sample has little value if the supplier cannot reproduce the approved configuration or support the required schedule.
The ceramic tile sourcing insights section can help buyers prepare the technical discussion. Bring the elevation, lighting plan, joint detail and target program when requesting an OEM/ODM or project proposal so the response can address the actual application.
Release the Order Through a Documented Gate
Before authorizing bulk production, confirm that the project file contains:
- The approved product, finish, color and revision references.
- The full-scale mockup layout and recorded viewing conditions.
- Agreed joint, orientation, corner and interface details.
- Cleaning and maintenance observations from the mockup.
- Required technical evidence and outstanding document actions.
- Production-batch, packing and replacement controls.
- Named approval authority for later deviations.
A disciplined mockup converts a 3D tile selection from a loose visual preference into a buildable project standard. For product direction, factory coordination, OEM/ODM requirements and a project quotation, send MagiTiles the elevation, quantity schedule, target installation date, lighting information and expected approval sequence. That inquiry package gives the manufacturer enough context to respond with relevant samples, controls and delivery assumptions.